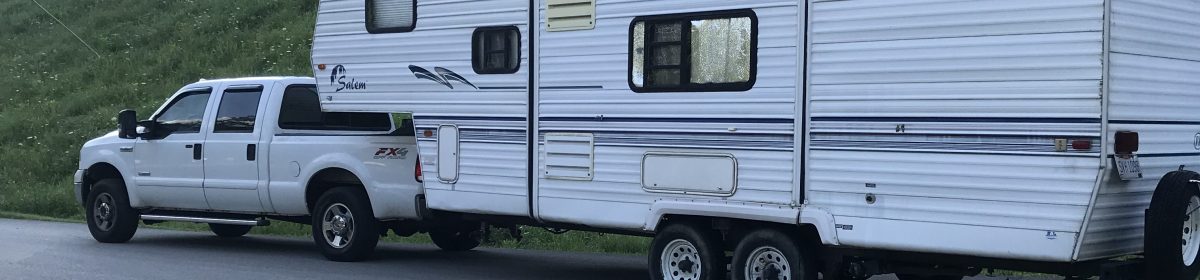
Our camper is 20 years old and we have been wanting to update the flooring for a while.
Like most campers it came with linoleum that was installed before the cabinets . Rather than try and remove the old flooring which was in ok shape just not very stylish . I decided to install the new flooring over top the existing . After looking at all the options out there we chose to use armstrong vinyl plank flooring .
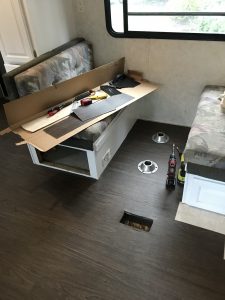
I chose it since it is very thin and I dindt think it would interfere or get damaged from the slide out . There wouldn’t be as much waste at using a sheet linoleum product. It is relatively lightweight so it wouldn’t add a lot of weight to the camper.
Instalation
I used a U notch trowel to spread the pressure sensitive adhesive . Be careful with this glue it is runny. It spilled as soon as I opened the lid. But make sure to spread it thin and let it dry before you try putting down your planks. With a fan drying it it took about 45 minutes on a 60 degree day till it was dry. You can tell the glue is dry when its clear. if it still is white then it is not dry . Once it is dry if you try and touch it, it is very sticky.
I first laid out most of my tile and made the cuts and then picked them back up and stacked them so knew where they would go before I put the glue down. Once you put them don they will come back up but they stick very well.
Since I was still nervous about putting the slide out in , I used 2 extra pieces of flooring to lay down before moving it in. It never did touch or scratch the floor . I was even able to pull them back out once it was all the way in. But I think I’ll just keep using them just in case.
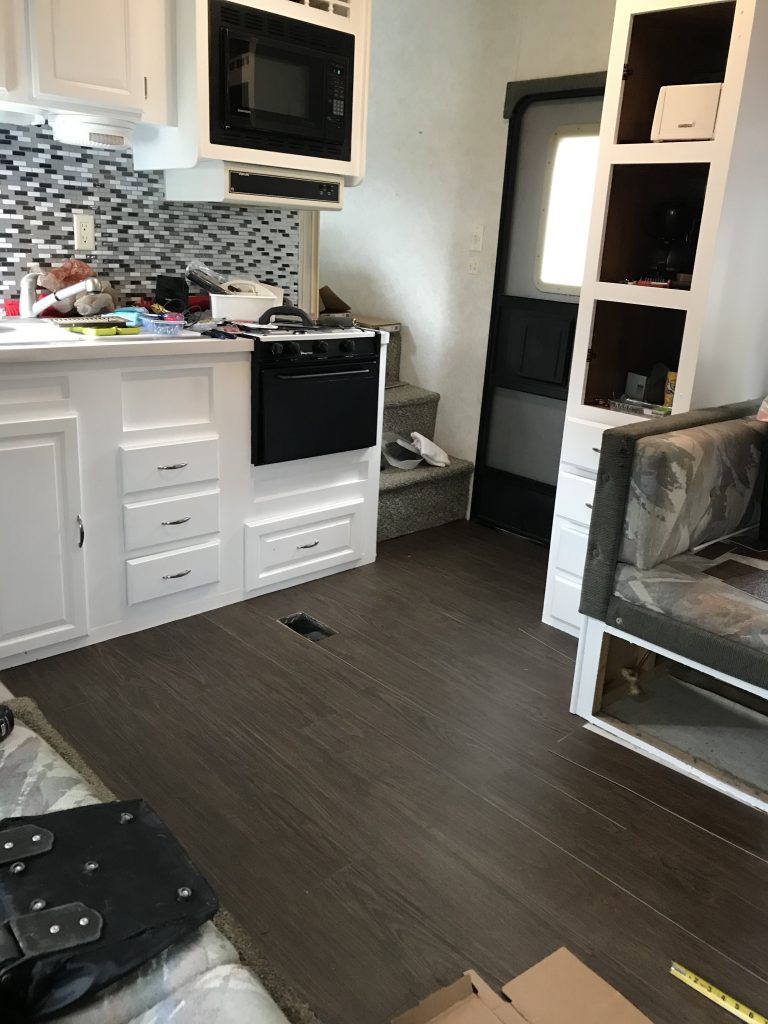
The whole project only took a few hours over 2 afternoons. Maybe if I was younger and used knee pads I could have done it in one afternoon. The whole thing cost under $200 and drastically changed the look of our camper. We are very pleased with the results.
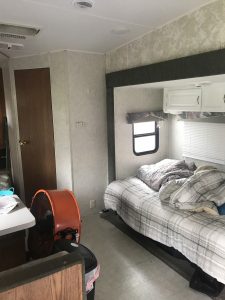
After installing the blackout shades this was a great CORONA project to keep updating our camper.