I have repaired other water damage in the camper before but i wanted to share some tips on how i went about it and what materials i used.
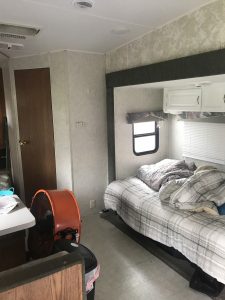
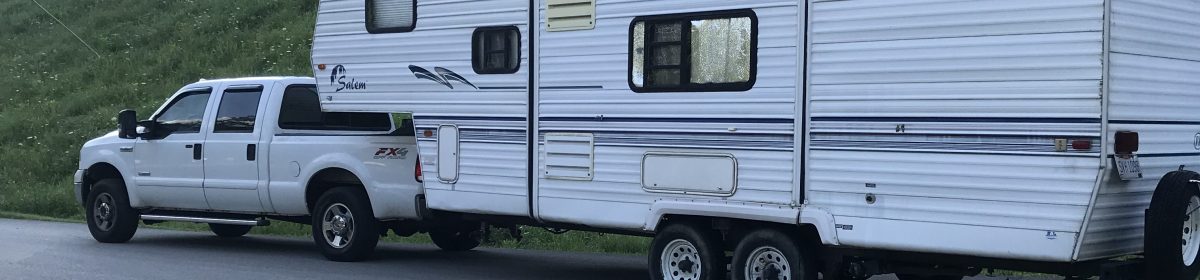
This leak was in the back of the camper by the bunks. A few years ago I did a pretty large repair to the back by removing the siding from the outside and replacing wood and insulation.
Disassembly
Because I had it apart from the outside previously I didn’t want to take the inside apart at the same time. Even though I knew there was already water damage to the paneling . So I waited a few years until i was bored one afternoon to take it apart.
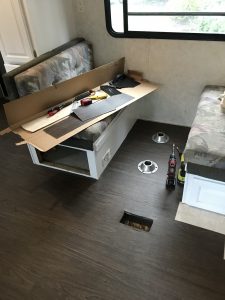
One thing I have learned while doing repairs to this camper is that they usually aren’t put together the way you would think. Removing the bunk was just a matter of removing all of the screws . Some screws had been installed from the closet before the paneling was installed in the closet . I had to cut those screws to get things out and then find another way to put it back together. My multi tool has been indispensable for this type of work . Once the bunk was out , it was just a matter of removing the whole piece of paneling . The other piece i had to cut with my multi too since it went behind the wardrobe. I used the old pieces as a template for cutting my new paneling.
Repair and reassembly
Tip – Once the camper wall is opened up , anything that isn’t rotten will usually dry out in a day or 2 .I used a fan inside of the camper to dry it out. I only had to add a little bit of framing inside the wall to give me something secure to staple the new paneling to.
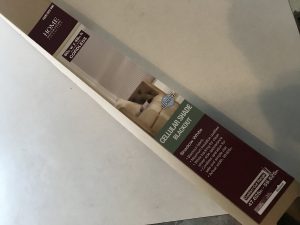
I have found paneling from Menards that has worked to replace the camper paneling. It isn’t the same but it looks nice enough till we try painting it . I’ll let you know how that goes when we get to it. I used a narrow crown stapler to secure the paneling to the studs . I used plastic trim stapled to cover the corners. To cover the staple marks you can just use a white painters caulk .
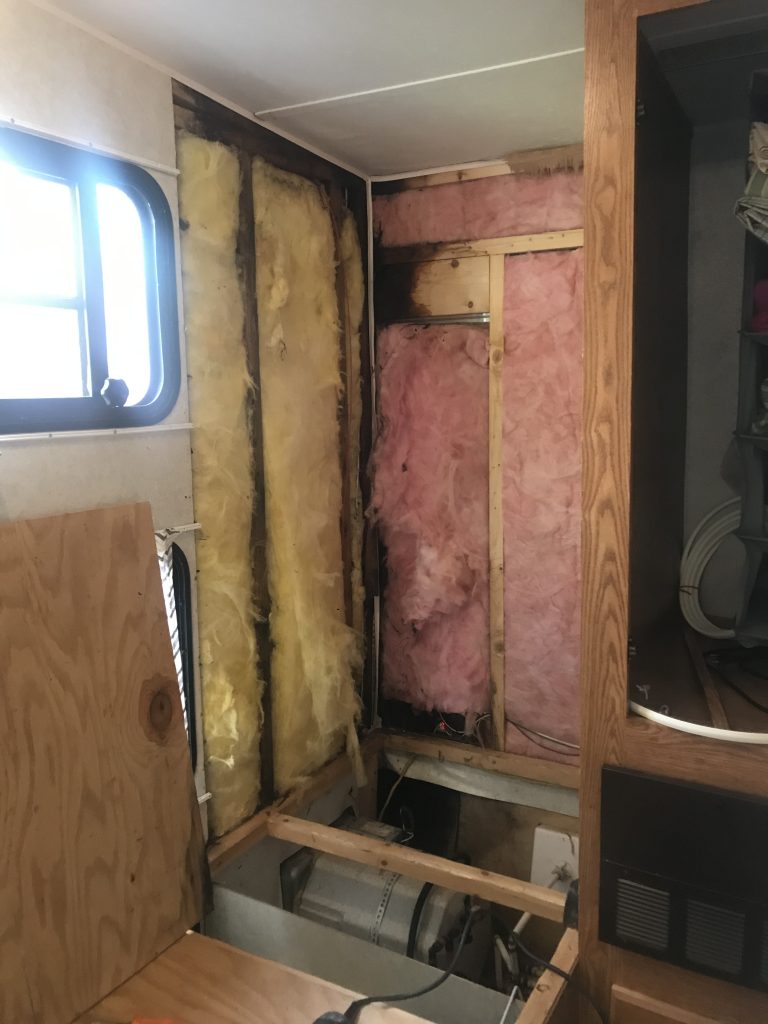
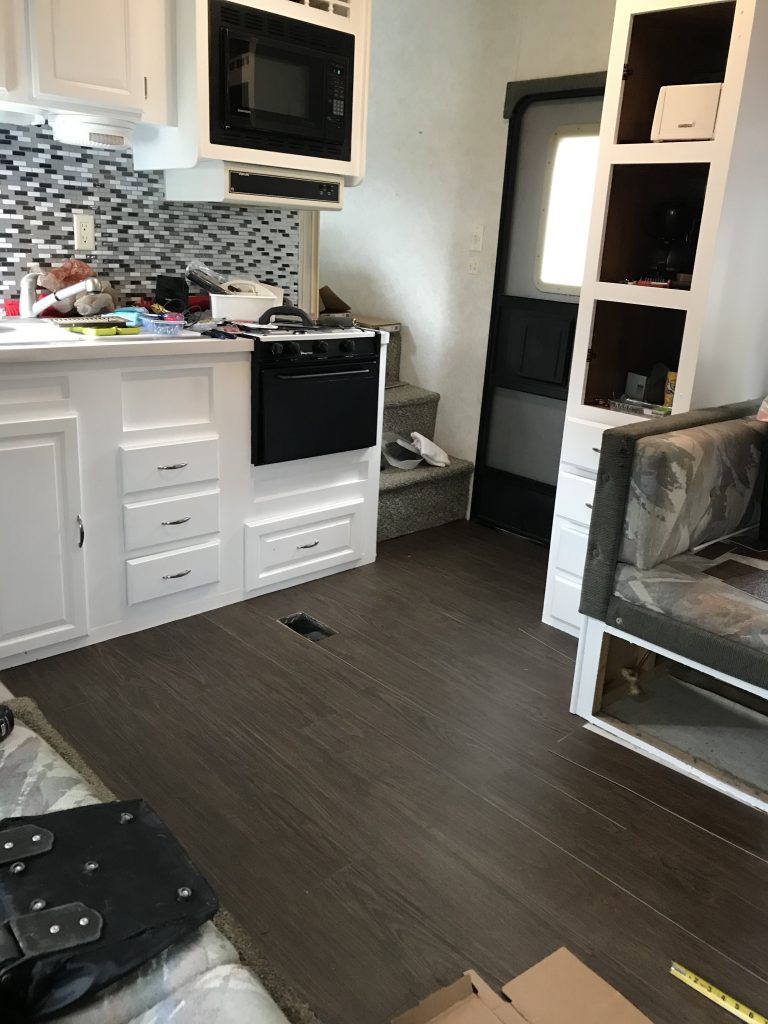
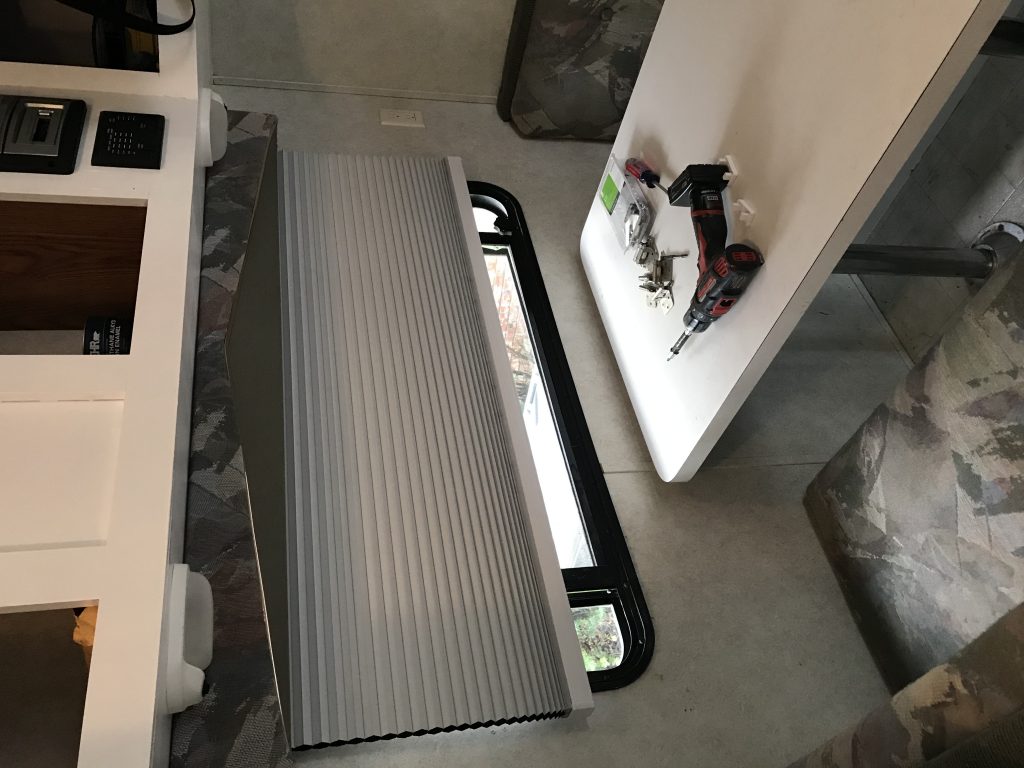
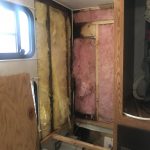
Paneling removed 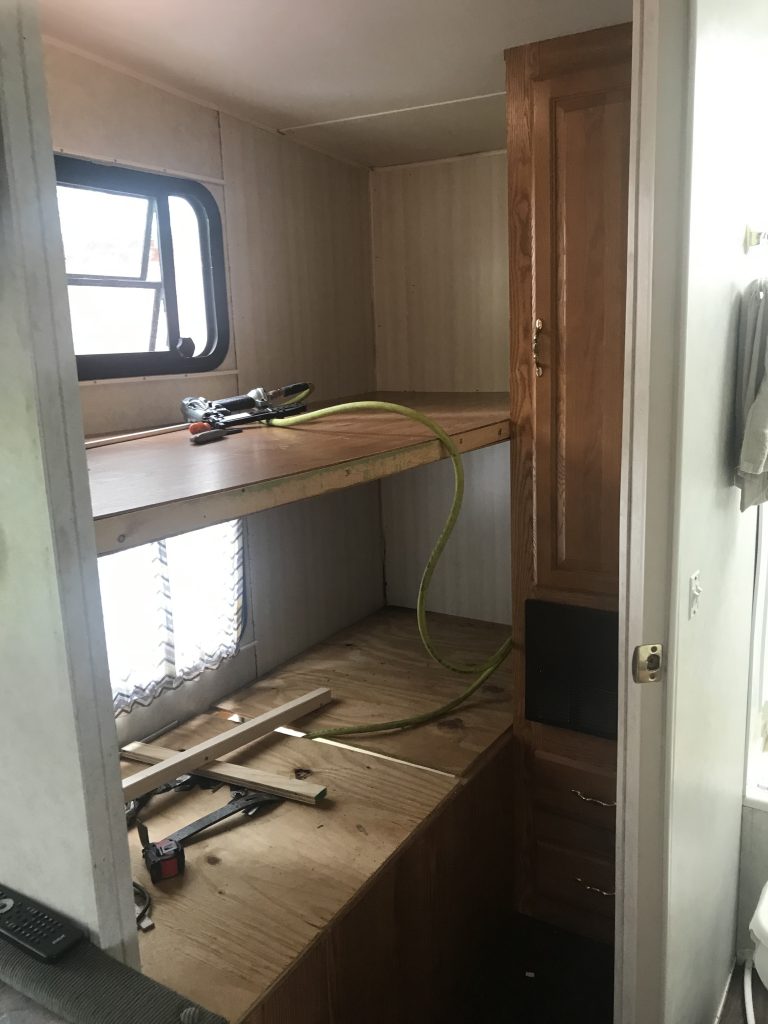
New Paneling and bunk installed 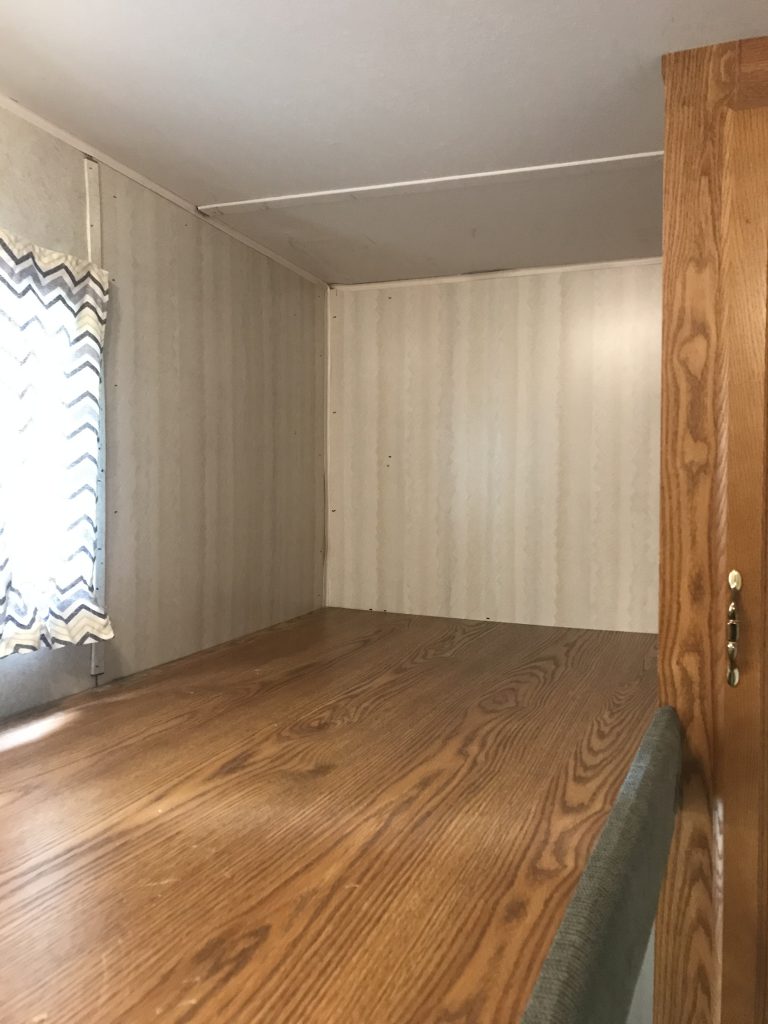
Top Bunk 
Bottom Bunk 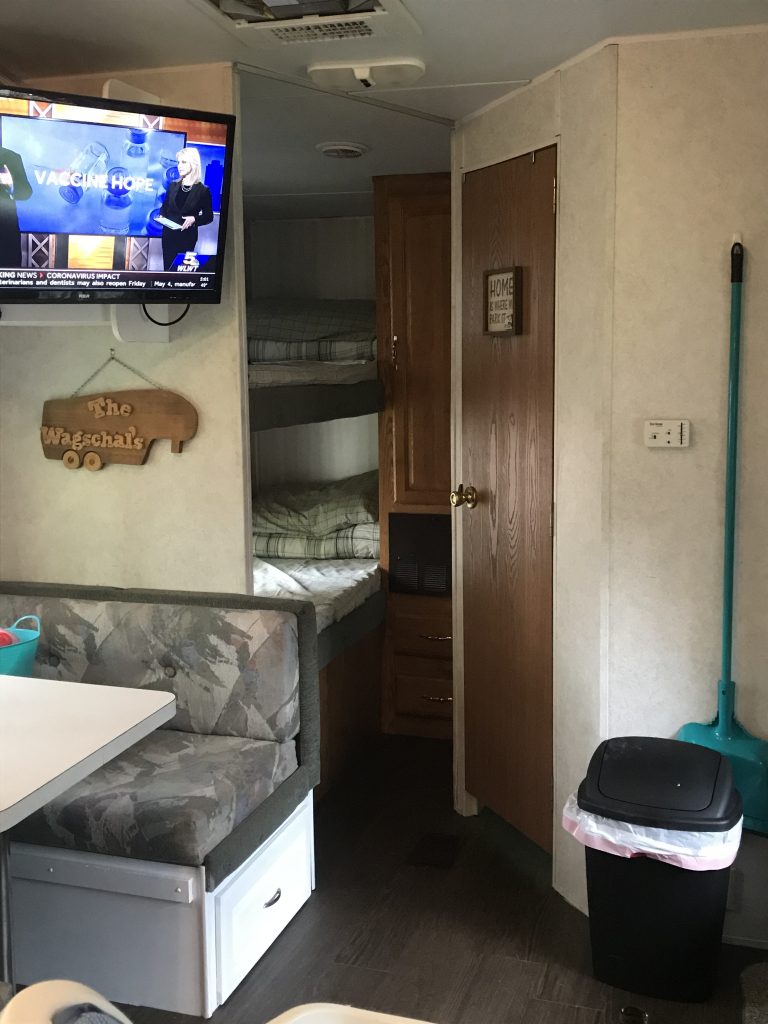
All Finished
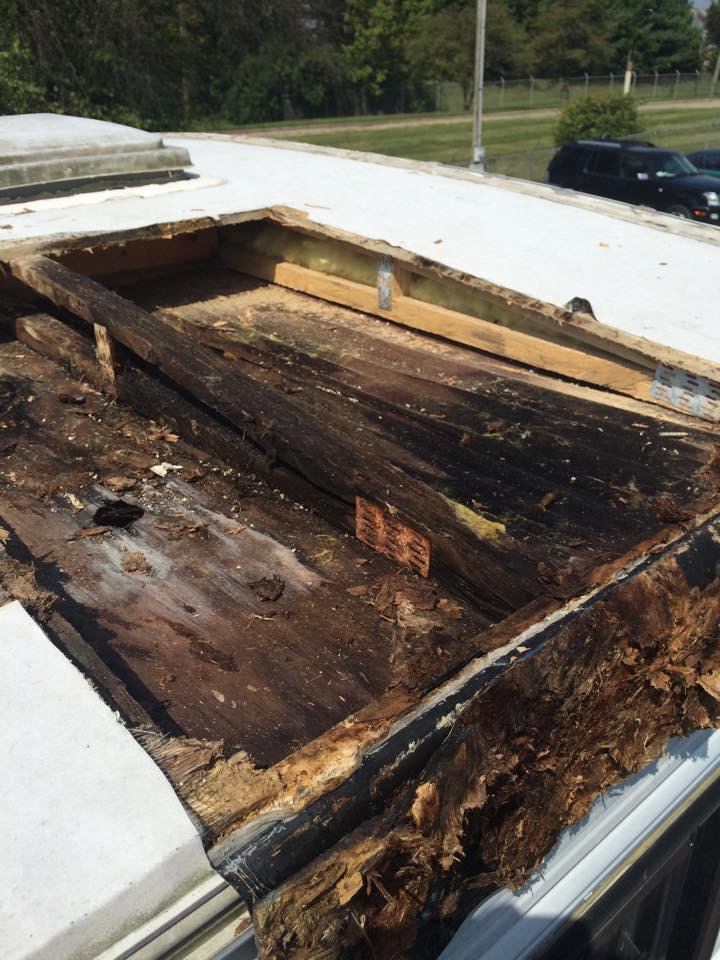
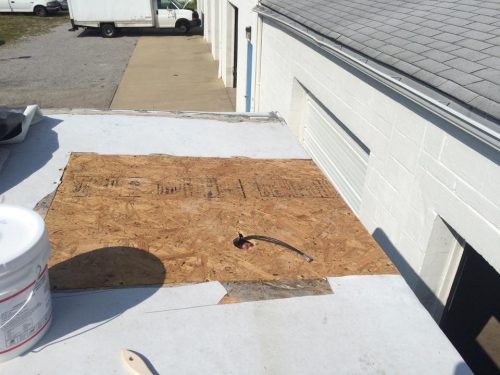
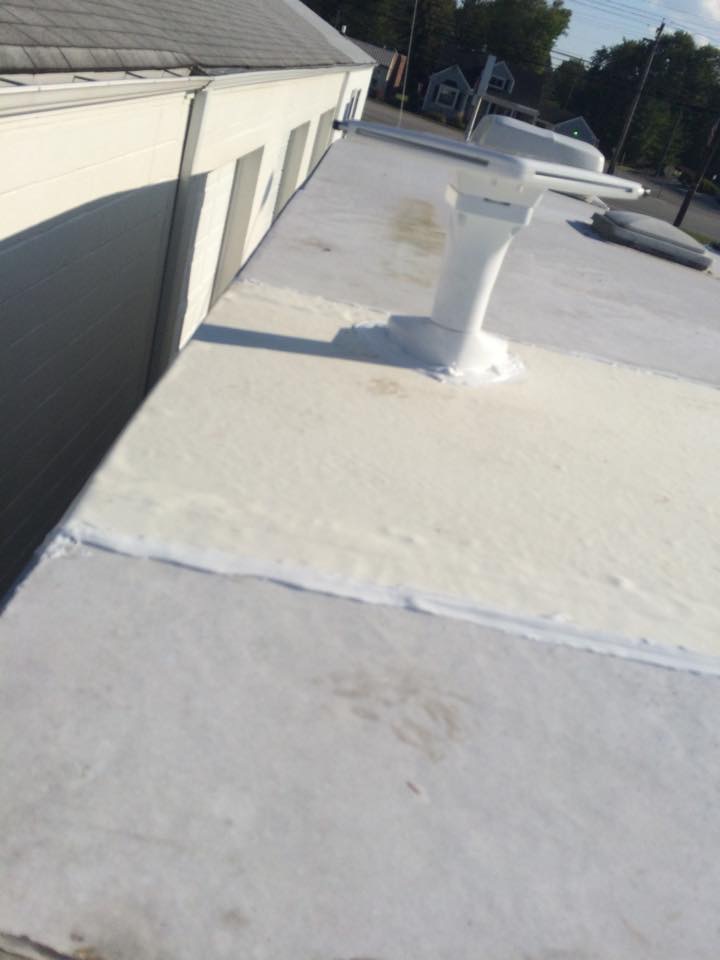
Check out the roof leak repair around the Antenna i fixed